Most modern browsers will block websites not using “HTTPS” security. Here’s how to set SSL to use HTTPS for your website.
Do not do this step until your domain has fully propagated.
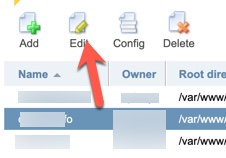
- When logged in to ISPmanager, navigate to www > www-domains.

- Select the domain that you want to enable SSL for and click Edit.
- Select “Secure Connection (SSL)”, “Redirect HTTP-requests to HTTPS,” and choose the type of SSL certificate. We chose “Let’s Encrypt” for this tutorial and recommend that.
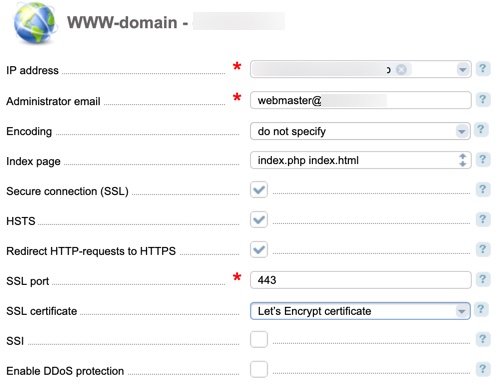
- Click “Ok” when done.
- If you chose Let’s Encrypt, you’ll be brought to a page for more details. If everything looks ok, click “Ok” or change what you want to change and then click “Ok.” Please note that this is not instant and can take 15-30 minutes to finish setting up on your site after activation.
If Your SSL Expires
Follow these steps if your SSL certificate expires.
1. Log in to ISPmanager.
2. From the menu go to “ww-domains” and click the “Edit” button.
3. Disable “SSL” and save.
4. From the menu go to “SSL Ceertificates.”
5. Select the certificate and click the “delete” button.
6. Click the “LetsEncrypt” button.
7. The fields are auto-filled, then click “OK”.
One thought on “Enabling SSL in ISPmanager Control Panel”
Comments are closed.