Your Vesta hosting panel is the server control panel. It is not “Cpanel” as you may be familiar with from other hosts. You can use the this hosting panel to manage your Server , add a Website, SSL, DNS, Mail, Databases, Cron jobs and Backups.
Log in with your “admin” account details. The details to log in were sent to your email. If you lost the log in url, you can also reach the web panel from your BryZar dashboard by clicking “Launch Webpanel.” You can also type it directly in your browser address bar.
https://your_server_ip:8083
or
https://yourhostname.yourdomain.com:8083
Note: You need to have your hostname DNS record set to the server IP in order to use it for the URL.
Logging in as Webuser
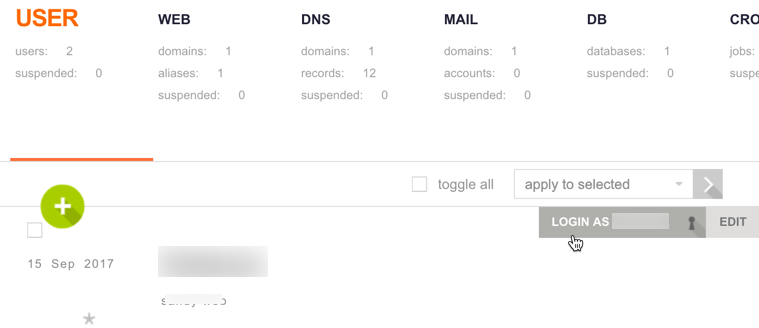
To do most things, you’ll want to use the “Webuser” account. To do that, after you’ve logged in as your “admin” user, you’ll see the user in the “User” tab which is what is open by default upon logging in.
Click “Log in as (username)” which you’ll see when you hover the mouse near the user.
Creating another WebUser
- Log in as the admin user.
- Click the green + symbol to add a new user.
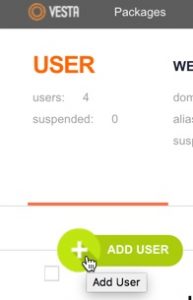
- Fill in all of the details for the user and click “Add.” You may want to copy the password and username before clicking “Add” but you’ll also get a copy in the email sent from the system.
Important: It’s best if you do not give your Vesta access to anyone else. You have FTP for file transfer and phpMyAdmin for database access that you can give out to trusted developers or support personnel of the script(s) you are using. You are solely responsible for damages that may arise from giving access to your Vesta panel, FTP access, and/or phpMyAdmin access.
7 thoughts on “How to Use Vesta Hosting Panel”
Comments are closed.