Using Softaculous

Softaculous is a great tool for installing website software. It has over 400 scripts for you to easily install. Follow these steps to use Softaculous.

We recommend that you have SSL installed on your domain before proceeding.

  1. Log into Vesta.

2. Click “Apps” in the top menu.

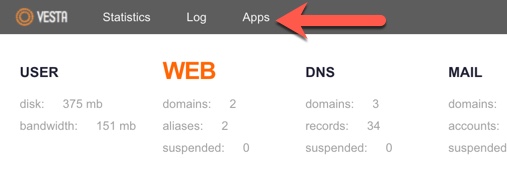
3. You’ll be brought to the Softaculous page that lists all of the available software that you can install.

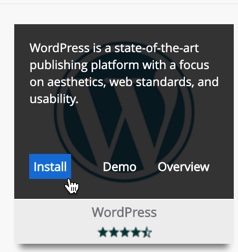
4. Choose the software you want to install. For this tutorial, we’ll install WordPress.

5. Hover the mouse over the WordPress icon and click “Install.”

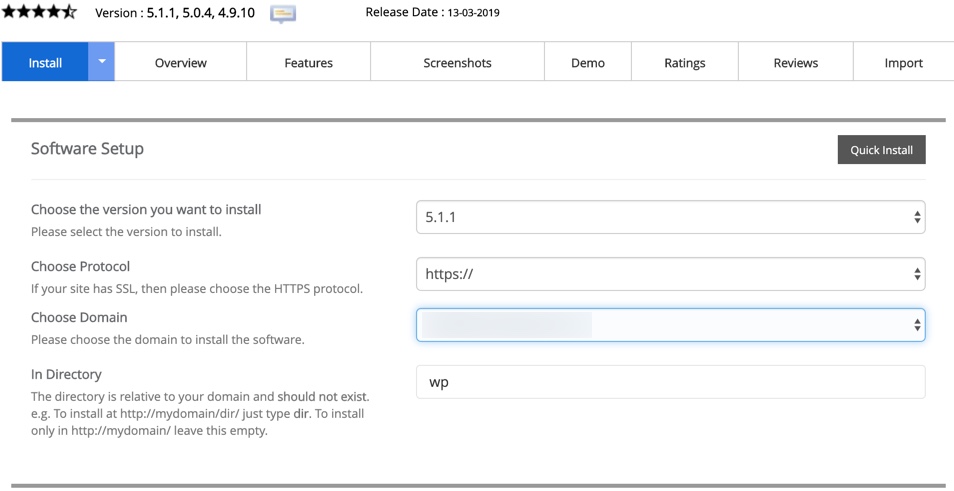
6. Choose the software setup you want. We recommend keeping it https secure. To install in the root (public_html) which is recommended, delete “wp” from the “In Directory” line, leaving it blank. When choosing the domain, be extra careful to choose the right one if you have more than one domain on the server.

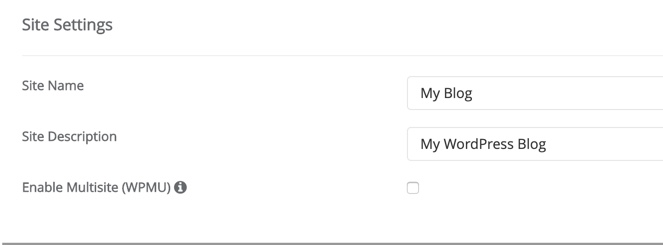
7. Enter your site name and description.

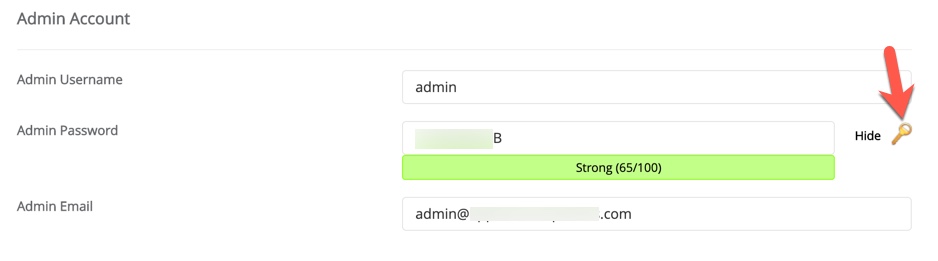
8. Add your admin details. We recommend clicking to generate a random password. Be sure to copy down the details.

9. Choose your language and select your plugins.

10. To setup the database with the install, click Advanced Options. You can select for WordPress, plugins and themes to automatically update if you want to save the hassle of upgrading each time there’s a release.

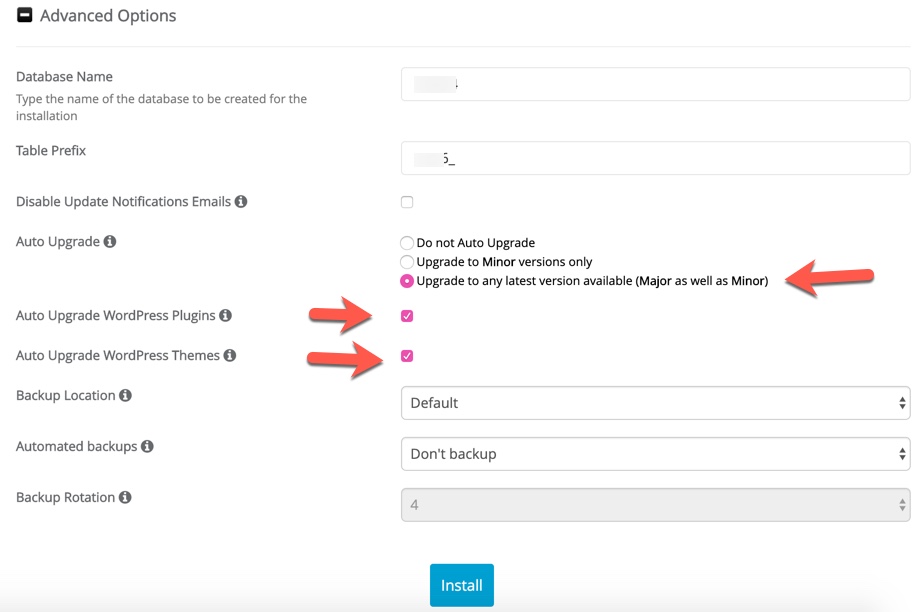
Do not select the automatic backups. You already have free offsite backups with BryZar hosting. Setting the backup setting here can cause issues with your server or corrupt backups.

Before clicking Install, be sure to fill in an email for the details to be sent.

After clicking Install, it will take a few minutes for the software to download to the server. You’ll see a success message once install completes.

VestCP SSL Certificate and CSR

For added security for your site it is recommended to always use secure protocol or HTTPS. To achieve this you need an SSL Certificate.

The Vesta hosting panel can generate a Free SSL Certificate using “Lets Encrypt”.

Enable Lets Encrypt SSL:

1. Login to your hosting panel using the “admin” user.

Then go here

user > (webuser) > login as (webuser) > web > yourdomain.com > edit

Note: Webuser is the user assigned for your website.

2. Enable the “SSL Support” checkbox and “Lets Encrypt Support”.

3. Hit “Save” button

Using other SSL certificate:

1. Login to your hosting panel using the “admin” user.

Then go here

user > (webuser) > login as (webuser) > web > yourdomain.com > edit

2. Enable the “SSL Support” checkbox

3. Click “Generate CSR” link

– Fill up the form and click “ok” button.

– Copy the CSR (Certificate Signing Request) and the SSL Key to your desktop.

– Your SSL authority / provider (eg. Comodo) will ask for your CSR to generate the SSL Certificate.

4. Once you receive the SSL Certificate from your provider you can go back here

user > (webuser) > login as (webuser) > web > yourdomain.com > edit

5. Enter the SSL Certificate, SSL Key and SSL Certificate Bundle/ Intermediate.

6. Hit “Save” button

If your certificate expires, follow the above steps to log in as user and go to web > yourdomain.com > edit

Disable the “SSL Support” checkbox and click Save.

Go back again and click to Enable SSL Support and click save. This will reestablish the SSL certificate.

Adding a Cron Job in Vesta Hosting Panel

Many website scripts require cron jobs to perform tasks at set intervals. It is very easy to add a cron job via the Vesta hosting panel. This guide will walk you through the steps.

Continue reading Adding a Cron Job in Vesta Hosting Panel

Managing VestaCP Backups

Backups are meant for disaster recovery. They are used to restore as much data that is possible to recover. IT IS NOT meant for reverting codes/content or data in the database unless there is no other way. We recommend getting a dev/staging site or dev/staging server.

Restoring from a backup will restore your entire site to the backup date.

It is very important to manage your backups. Please keep in mind that we only provide the storage and manage the storage servers. We do not make any guarantee on backup data/file integrity. Backup systems are very complex. As much as possible you need to keep your backup size small. Large backup sizes usually get corrupted.

To create a backup in your hosting panel:

user > (webuser) > login as (webuser) > backup >create backup

To download your backups:

Log in to your offsite server backup via FTP.

To adjust the backup time or frequency:

cron > “sudo /usr/local/vesta/bin/v-backup-users” > edit

You can change the cron time/schedule to fit your needs.

To change the backup count/total:

packages > your web package > edit

Backups: 3

Change “3” to your desired total number of backups to be generated.

Optimizing your backup:

1. Offload/Separate your media files into another storage

Uploading your photos/images/video/music to another storage system will make your site size very small. You can use our Storage Servers or FTP Storage.

2. Exclude directories

In your hosting panel

user > (Webuser) > “LOGIN AS (WEBUSER)” > backup > backup exclusions > configure

Web Domains:
yourdomain.com:public_html/wp-content/uploads

In the example entry above it is the WordPress media directory. Most of the files in the “uploads” directory are user uploaded content. Images and other media files are hard to compress making the backup size huge and prone to data corruption.

3. Remove unused files or archives

In best practice, you should not store files or achives inside the “public_html” or even inside your user root directory “/home/yourwebuser”. The backup system will process all files inside each web user directory.

Restarting Services of Your Server in VestaCP

To restart/stop/start server services such as MySQL, Apache, Nginx and other systems running in your server just log in to your hosting panel and go to “Server”.

500 Internal Server Error

One of the most common issue in hosting is getting the “500 Internal Server Error”. When that happens try to restart your web server (Apache).

server > apache > restart


Database/MySQL crash:

If your database has crashed you can restart “MySQL“.

server > mysql > restart

We recommend to “stop” first the “Apache”, then stop/start the “MySQL”.


Warm Reboot:

To restart the server you can click “Restart” under hostname.

server > yourhostname > restart

If there are issues we suggest to try first to stop/start/restart the Apache and MySQL before deciding to restart the server. If there are still issues then you can try to restart the server.


Managing Your Firewall in Vesta

Managing your firewall from the command line is a bit hard. We have pre-configured firewall rules applied in your server. This is for extra security.

To easily make changes in the firewall rules just log in to your hosting panel then go to “Firewall”. It is best to suspend rules that you don’t use.

You can add rules by clicking the “plus” icon or “Add rule.”

To ban an IP address:

firewall > list fail2ban > ban IP address

IMPORTANT: Do not suspend or delete the “PING” rule.

%d bloggers like this: