You can use your favorite Email client (Outlook, Apple Mail, Thunderbird, etc) with BryZar’s full featured Business Email. We’ll show you how to set up a few below.
Setting up Outlook
Please note that we are using Outlook on a Mac. These steps should be similar on other OS.
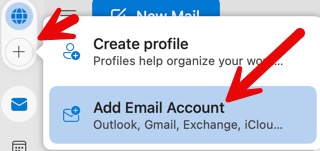
- Open outlook and choose add new account.
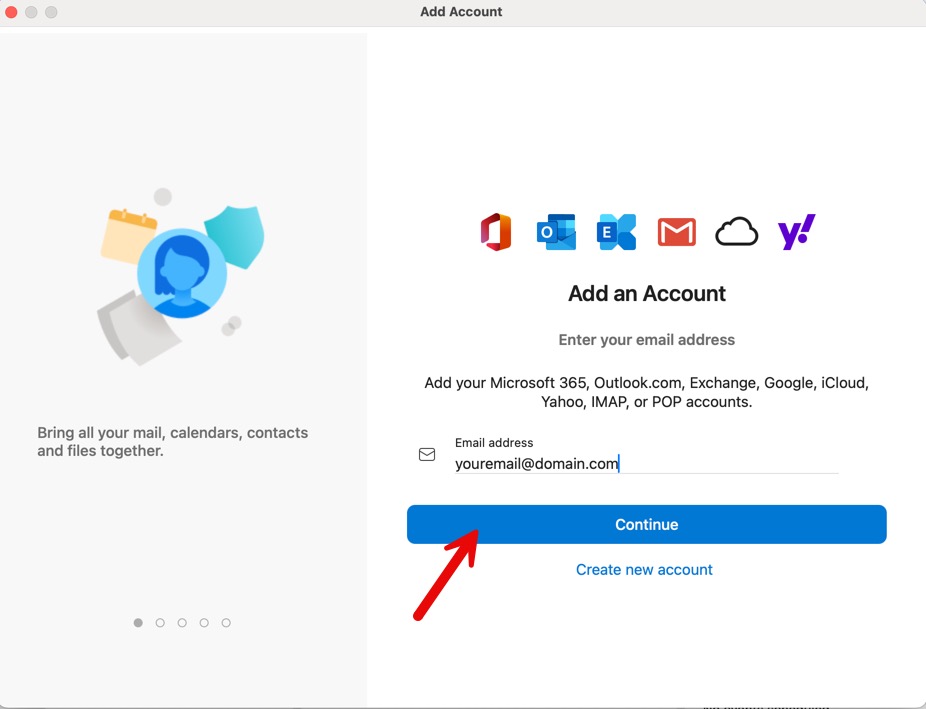
- Fill in the Email address and click continue.
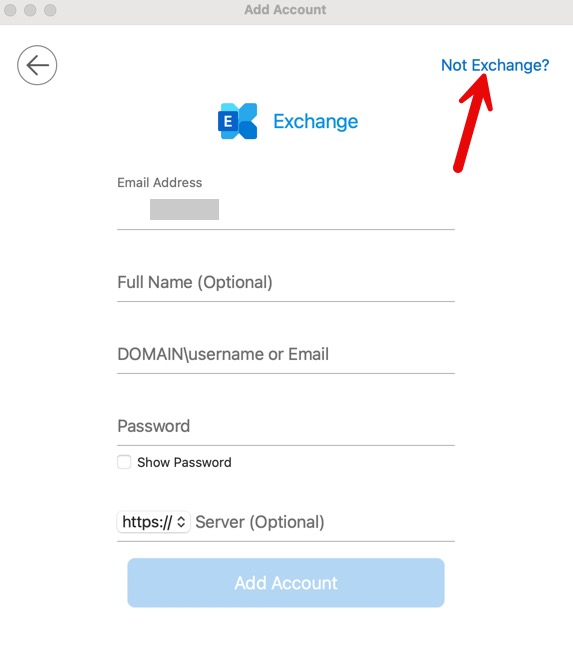
- Click “Not Exchange” on the next screen. It’s near the top of the page.
- Choose IMAP (we recommend this over Pop3 but you can choose that instead if you prefer).
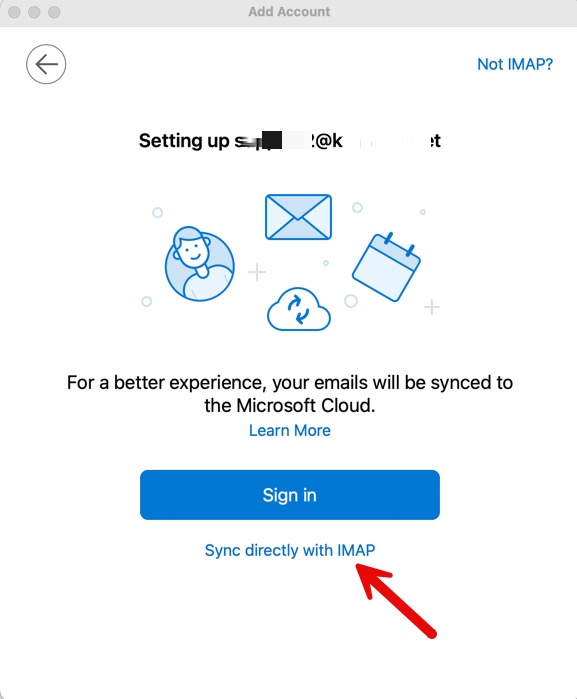
- You can choose to sync with the Microsoft Cloud but we prefer to sync directly with Imap, so for this tutorial we will click that.
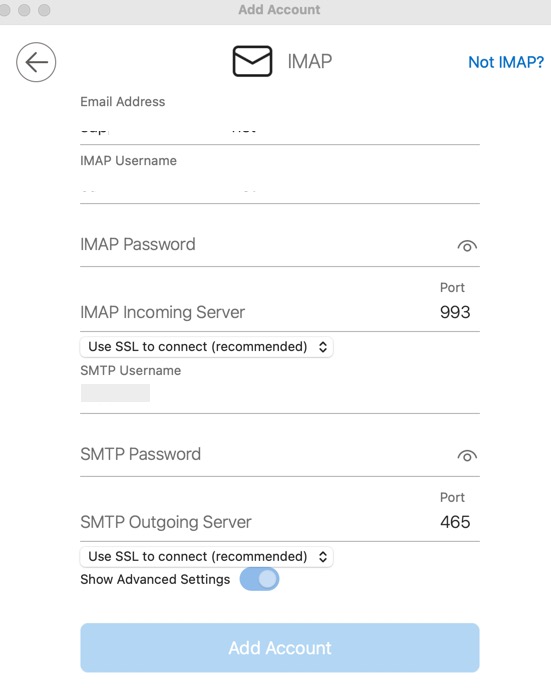
- On the next popup, you’ll fill in the IMAP details that were sent to your Email or that your administrator gave you.
- Email address: this should already be filled in, as your Email.
- IMAP username: leave this as is, it should be filled in as your Email.
- IMAP password: this is the Email password.
- IMAP incoming server: the SSL server using port 993
- Port: 993 (this is the SSL port for IMAP)
- Drop down for “Use SSL to connect”. Leave this set as it is. If not set, please choose to use SSL to connect.
- SMTP username: this is your email address and should be filled in.
- SMTP password: same as the email password.
- SMTP outgoing server: the SSL server using port 465.
- Drop down for “Use SSL to connect”. Leave this set as it is. If not set, please choose to use SSL to connect.
- Once done, click Add Account.
- You can choose a profile or skip this step. All set!
Setting up Apple Mail
- Open your Apple mail app.
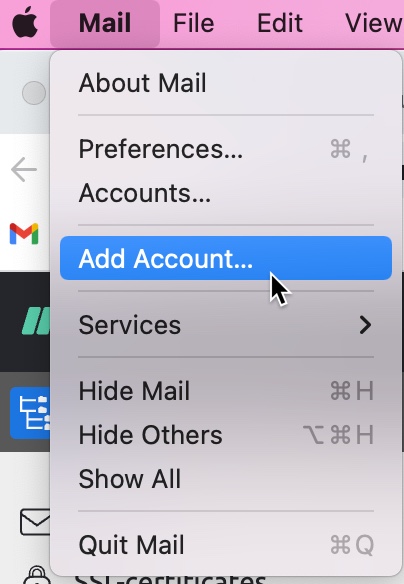
- Click Mail > Add Account.
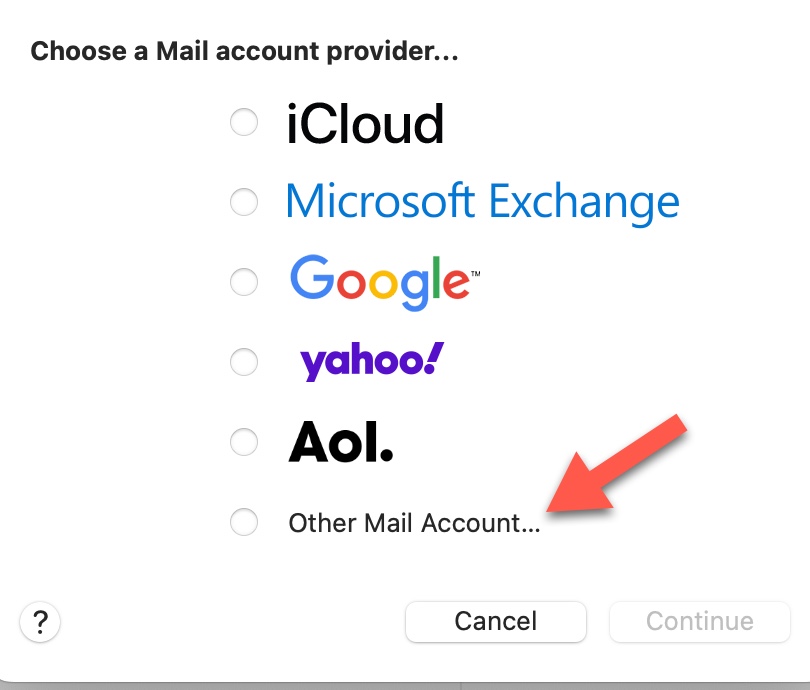
- Choose “Other Mail Account” and click Continue.
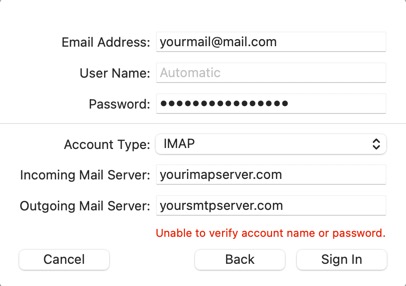
- Fill in the details for the Name, Email, password and click “Sign in”. Your Email and password were either mailed to you, or you got them from your administrator when your Email address was set up. It will try to sign in but cannot as we’ve not yet set up the Incoming and Outgoing details. That comes next.
- Fill in the details from the Email you got for this user account.
- Username: this is your Email address. It should be set to “automatic” and not need to be filled in. However, if it is not showing “automatic” then fill in your Email address.
- Password: this is already filled in with your password you already entered. If not, fill in the password for your Email.
- Choose the Account Type “IMAP” or Pop3. We recommend IMAP.
- Incoming Mail Server: the SSL server using port 993. Note that the ports won’t show here but will automatically be set.
- Outgoing server: the SMTP SSL server using port 465.
- Click “Sign In”.
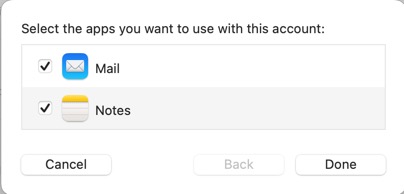
- You’ll now see a popup to choose the apps to use. Keep “Mail” checked and click “Done.” Now you’re all set!
Setting up Thunderbird
- Click File > New > Existing Mail account
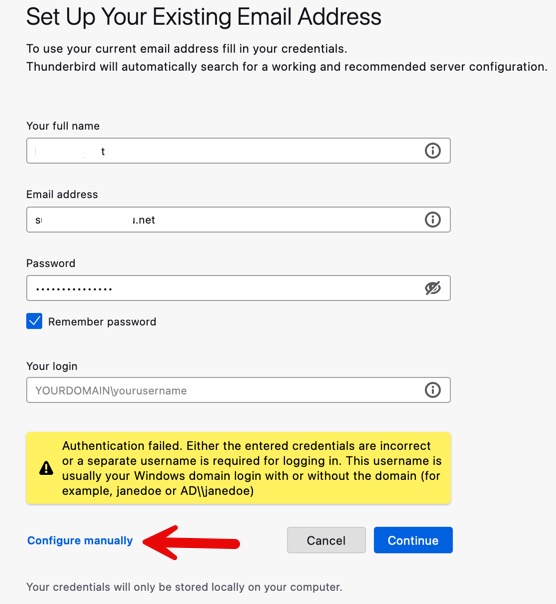
- Fill in your Email address and password. You can also change the full name if you need to.
- Click Continue
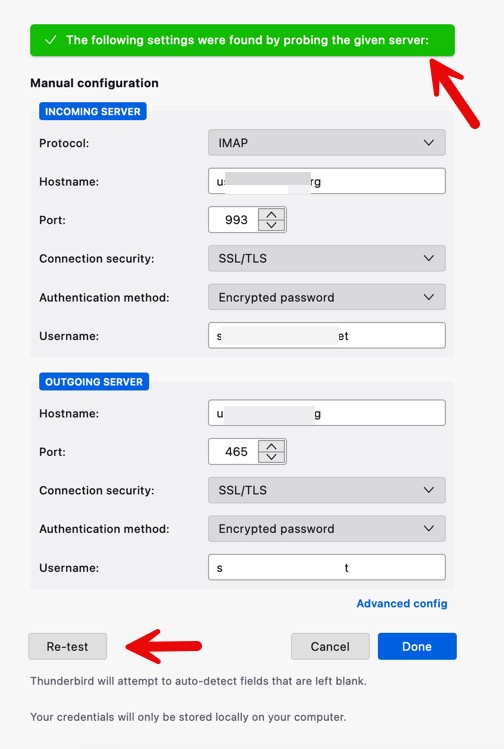
- If Thunderbird doesn’t automatically configure the settings, click “configure manually” and enter the necessary IMAP server details. We recommend IMAP over POP3 but you can choose pop3 instead. See the screenshot below.
- Incoming details – note that your log in details were sent via email:
- Protocol: IMAP
- Hostname: This is the IMAP SSL/TLS host name sent via email.
- Port: 993 (this is the SSL port for IMAP)
- Connection security: Leave this at SSL/TLS
- Authentication method: Leave this at Autodetect
- Username: this is your email address
- Outgoing Server:
- Hostname: This is the SMTP outgoing hostname sent via email
- Port: 465 or 587 usually, found in your email under the SMTP outgoing email.
- Connection security: Leave this at SSL/TLS
- Authentication method: Leave this at Autodetect
- Username: this is your email address
- Click Re-Test and thunderbird will try to connect. If successful, you’ll see a success method.
- Click Done and on the final screen, click Finish. You should be all set now!
If you have any questions about the Business Email service, please feel free to open a ticket and we’ll be happy to assist.