Upload and Extract Files in Virtualmin Panel

Virtualmin Panel includes a file manager where you can upload and extract zip files or any other files.

We recommend uploading files via FTP. However, if you prefer to upload via the file manager, follow the steps below. Step 5 shows how to extract uploaded files, whether they were uploaded via FTP or by the file manager.

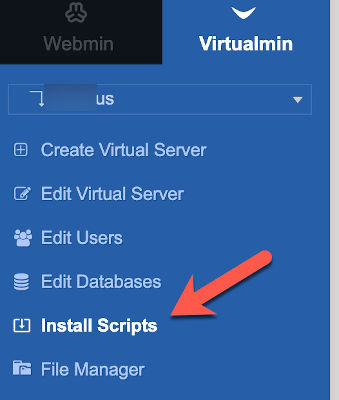
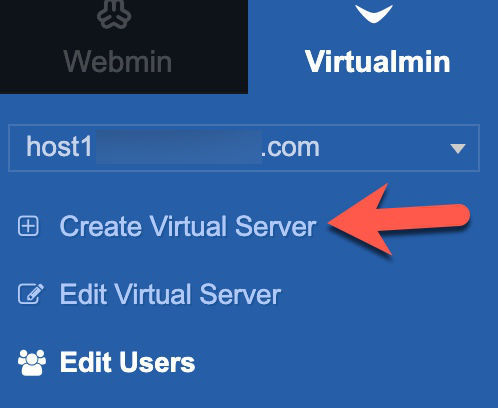
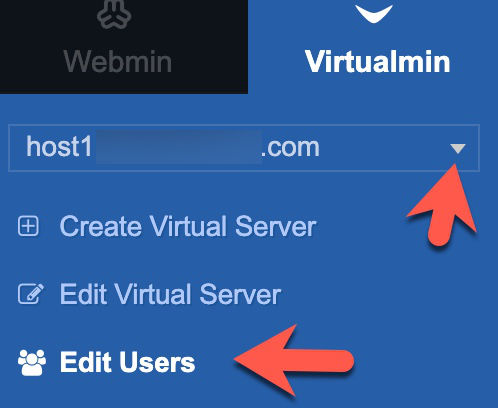
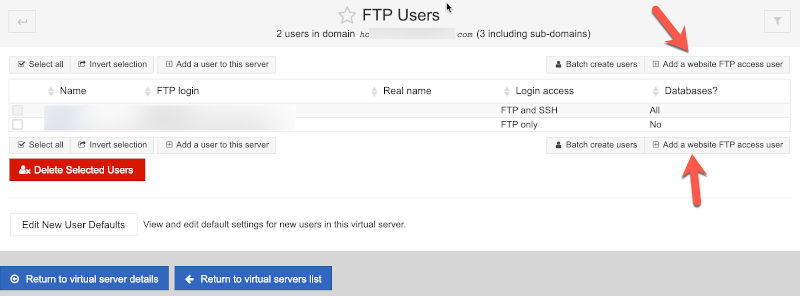
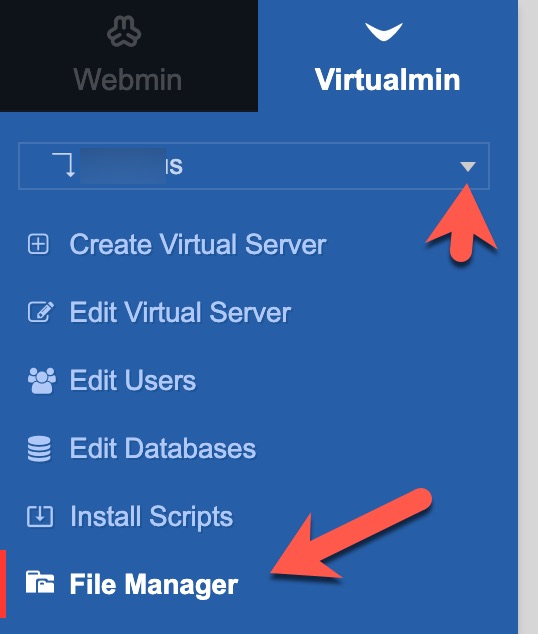
  1. When logged in to VirtualMin Panel, select the site you want to upload files into and then click “File Manager.”
virtualmin file manager menu
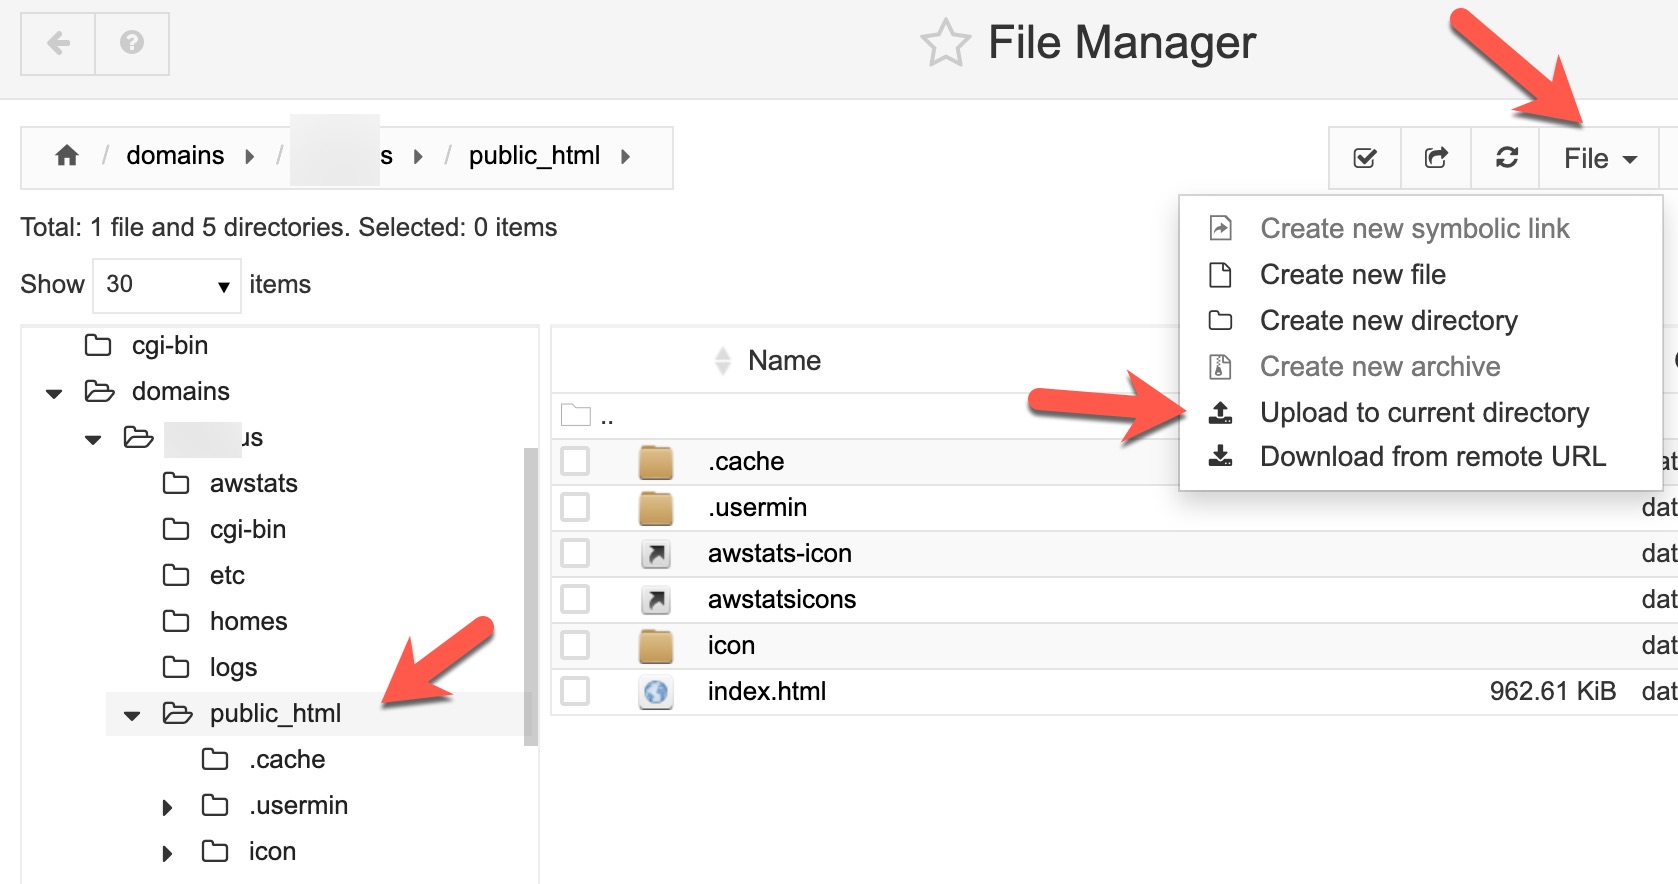
  1. To the right, you’ll see a list of files on the server, a list of domains, and various buttons at the top middle.
  2. Open the directory you want to upload to. Our screenshot shows the public_html folder open.
  3. At the top click File > Upload to Current Directory. Select the file from your computer then drag and drop it into the popup and click Upload.
virtualmin file manager upload
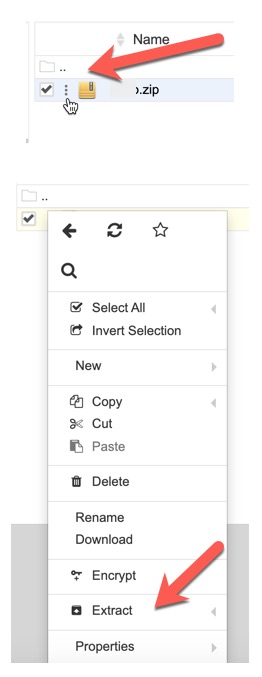
  1. If you’ve uploaded a compressed file (zip, tar, etc), to extract it click the ellipses to the left of the file and select “Extract.”
virtualmin file manager extract

Installing phpMyAdmin in Virtualmin Panel

If you want to install phpMyAdmin to manage your databases, here’s how.

Note: You first need to have created databases to manage.

  1. In the left menu, click “Install Scripts.”
virtualmin install phpmyadmin menu
  1. Select phpMyAdmin and click “Show Install Options” at the bottom.
virtualmin install phpmyadmin button
  1. Choose to manage all databases or to select databases to manage. Click “Install Now” when done.
virtualmin install phpmyadmin details

Add a Website in Virtualmin Panel

Here’s how to add a website or subdomain in the Virtualmin panel.

  1. Click “Create Virtual Server” in the menu on the left.
create virtualmin website
  1. Enter the domain name you want. If creating a subdomain, click the “Sub-server” button first and then enter the subdomain as you want it.
create website virtualmin domain name
  1. Click “Create Server” if you want to leave the default options as they are (recommended for those without advanced knowledge).

Tip:

If you want to see the IP of the server, for DNS and other things, you can click “IP Address and Forwarding” which will open to show the server IP.

create domain virtualmin ip address

Adding FTP Users in Virtualmin Panel

  1. When logged in to Virtualmin, select the domain you want to add an FTP user for and click “Edit Users” in the left menu.
add ftp user virtualmin
  1. Click “add a website ftp access user.”
add ftp user button
  1. Fill in the “username” and click the key icon next to the password input field. If you want, you can make your own password instead of using the secure password generator. You can leave the “Real name” field blank. If you want to set a password recovery email, fill that in, otherwise leave blank. You are now done unless you want to restrict this user’s access to specific directories. If so, continue with step 4.
add ftp user details
  1. Click “Other User Permissions” to restrict the user’s access. You can add directories that this user can access by clicking the one(s) on the left to add them to the allowed list.
add ftp user permissions
  1. When finished, click the Create button at the bottom. This FTP user will connect via FTP with the credentials you set.

Tips

  • If you can’t see directory listings with this FTP user, try changing your FTP program to Passive mode. If that doesn’t work, try Active mode.
  • In some cases, your ISP provider will block certain ports from access. If you cannot get the directory listing after trying the above, please contact our support.
  • A few FTP programs to try are FileZilla, Cyberduck, WinSCP, and there are many others.

Free Credits

You can get free credits by entering a Promo Code in the credits section from the dashboard.

dashboard > credits

  • You can only get Free Credits once.
  • To use the Free Credits in a plan, you need to get the Free Credits before purchasing a service/server.
  • You can apply Free Credits on plans that are applicable.
  • To see the applicable credits, once you try to create a server you should see, for example, “$5 cr/mo”.
  • If the plan price is $25/month and the applicable credits is $5/month, then your invoice will only be $20/month.
  • Free Credits will automatically apply on your monthly invoice if you have available/active Free Credits.
  • Once your Free Credits have expired or drained, then the monthly invoice will go back to original price.
  • Free Credits are not exchangeable for cash.

ISPmanager Adding FTP Users

Your ISPmanager details were emailed to you when your server was created. That user and password can be used for FTP login as well, just follow this basic FTP guide.

However, if you would like to add more FTP users in order to give to developers or staff, here’s how to do that. This is best practice when having others work on your site as the main user has full server access.

  1. Log into your ISPmanager and navigate to FTP Users.
  2. Click “Add” at the top of the FTP user list.
    ISPmanager add user button
  3. Enter the FTP user name, password, confirm password, and the home directory that this user will have access to and click OK when done. Note that you can click the “Generate Password” button next to the question mark for the Password in order to have a more secure password.
    ISPmanager ftp user info

Suspending an FTP User

To suspend an FTP user, click the lightbulb to the right of the user.
ISPmanager suspend ftp user

Logging into PhpMyAdmin and Your Database in ISPmanager Control Panel

Once you’ve created a database, you may want to log into the database via PhpMyAdmin. You can easily do that in ISPmanager. Here’s how:

  1. When logged into ISPmanager, navigate to Dashboard > Databases.
    ISPmanager database menu
  2. Select the database that you want to log into and then click “Go.”
    ISPmanager open database
  3. You’ll now automatically be logged into the selected database.

If you prefer to log directly into your database in PhpMyAdmin, follow these steps:

  1. When you created the database, you would have received an email with the database details. In that email is a link to PhpMyAdmin which would be (yourserverIP)/phpmyadmin substituting “(yourserverIP)” with your own server’s IP.
  2. Once at PhpMyAdmin, log in with the same database user and password that you created when you made the database.

Note: Due to a bug in PhpMyAdmin and current PHP versions, you may see some warning notices when logged in to PhpMyAdmin. Once they have a fix for that, we’ll update it but for now please click “Ignore All” to not see the notices.

Scheduling a Cron in ISPmanager Control Panel

Here’s how to set up a Cron in ISPmanager Control Panel as many scripts require. You’ll need to be logged in to ISPmanager in order to do the following.

  1. Navigate to Dashboard > Scheduler (cron)
    ISPmanager cron menu
  2. Click “Add” at the top of the center column.
    ISPmanager add cron
  3. Fill in the fields for the cron. If you want a report sent, be sure to enter a good email address. This will send details of your cron jobs that you’ve added.
    ISPmanager cron fields
  4. The command would be whatever your script needs. You can get this from your script developer.
  5. Description is optional but helps you to know what this cron does in case you have several crons.
  6. You can use either Basic or Expert mode but if using Expert mode, you will need more details filled in. Only use that if you are familiar with setting up crons.
  7. The Run and Time would have been given by the script developer. Check with them if you don’t know.
  8. Click Ok when done.

Adding a Database in ISPmanager Control Panel

Most website scripts require you to have a database in order to store data (blog posts, user posts, comments, etc.) Here’s how to set up a database.

  1. When logged in to ISPmanager, navigate to Dashboard > Databases.
    ISPmanager database menu
  2. Click “Add” at the top of the columns on the right.
  3. Fill in the database details. If you’ve created a user before, you can choose that user or create a new one. Don’t select “Remote Access.” Click “Ok” when done.
    ISPmanager database details
  4. Keep a record of the database name, username and password as you’ll need those when installing scripts. The hostname is “localhost” for script installation.

Disabling Open_basedir in ISPmanager Control Panel

Some scripts require open_basedir to be disabled. Here’s how:

  1. Log into your ISPmanager control panel as “root” and navigate to Domains > WWW-domains
    ISPManager Domain Menu
  2. Select the domain you want and click Edit at the top of the page.
    ISPmanager edit domain
  3. Scroll down to the section “Additional Features and uncheck “Use open_basedir” and click Ok.
    ISPmanager disable openbase
%d bloggers like this: