The file manager in ISPmanager can be used to upload, unzip/extract, delete, move and create files or folders. You’ll need to be logged into ISPmanager in order to do the following.
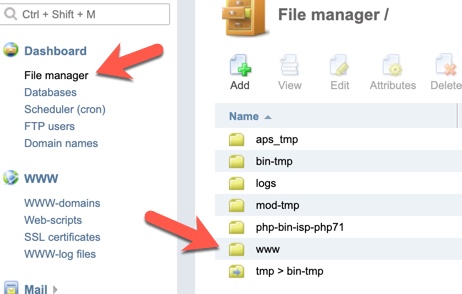
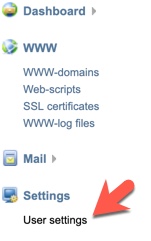
- Navigate to Dashboard > File Manager
Uploading Files
We recommend using FTP to upload files. However, if you just need to upload a small file, you can follow the below steps.
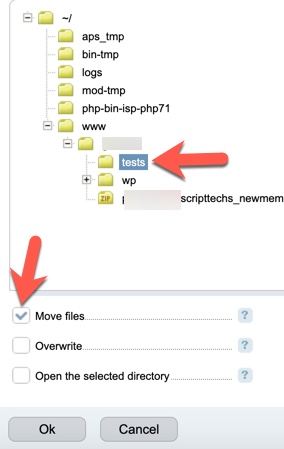
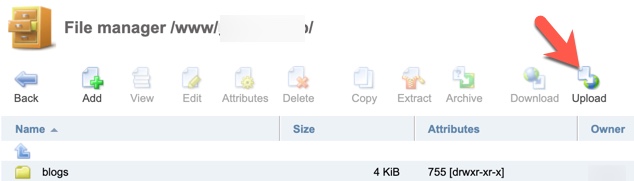
- Navigate to the folder where you want to upload files. To find your website folder, it will be under the “www” directory and then the domain name.
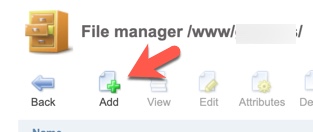
- Click the upload button which appears above the directory listing.
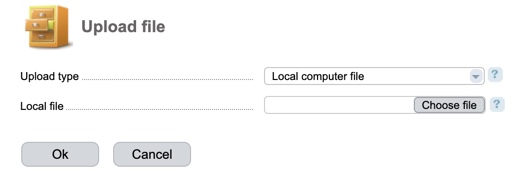
- Choose the file type (from your computer or from a URL) and file. Click “Ok” when ready to upload.
Unzipping or Extracting Files
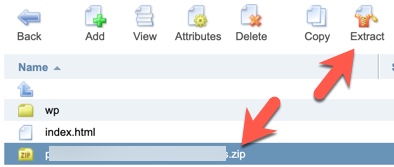
If you’ve uploaded a zip or other file, you can extract it easily in the file manager.
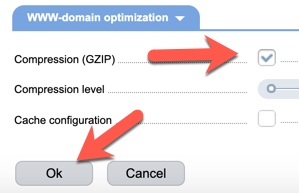
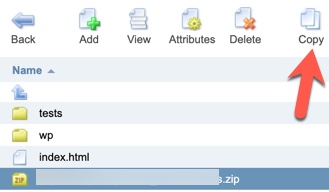
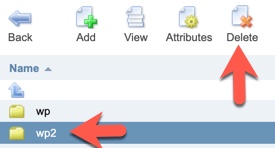
Click the compressed file and then click the Extract button that appears above the list of files.